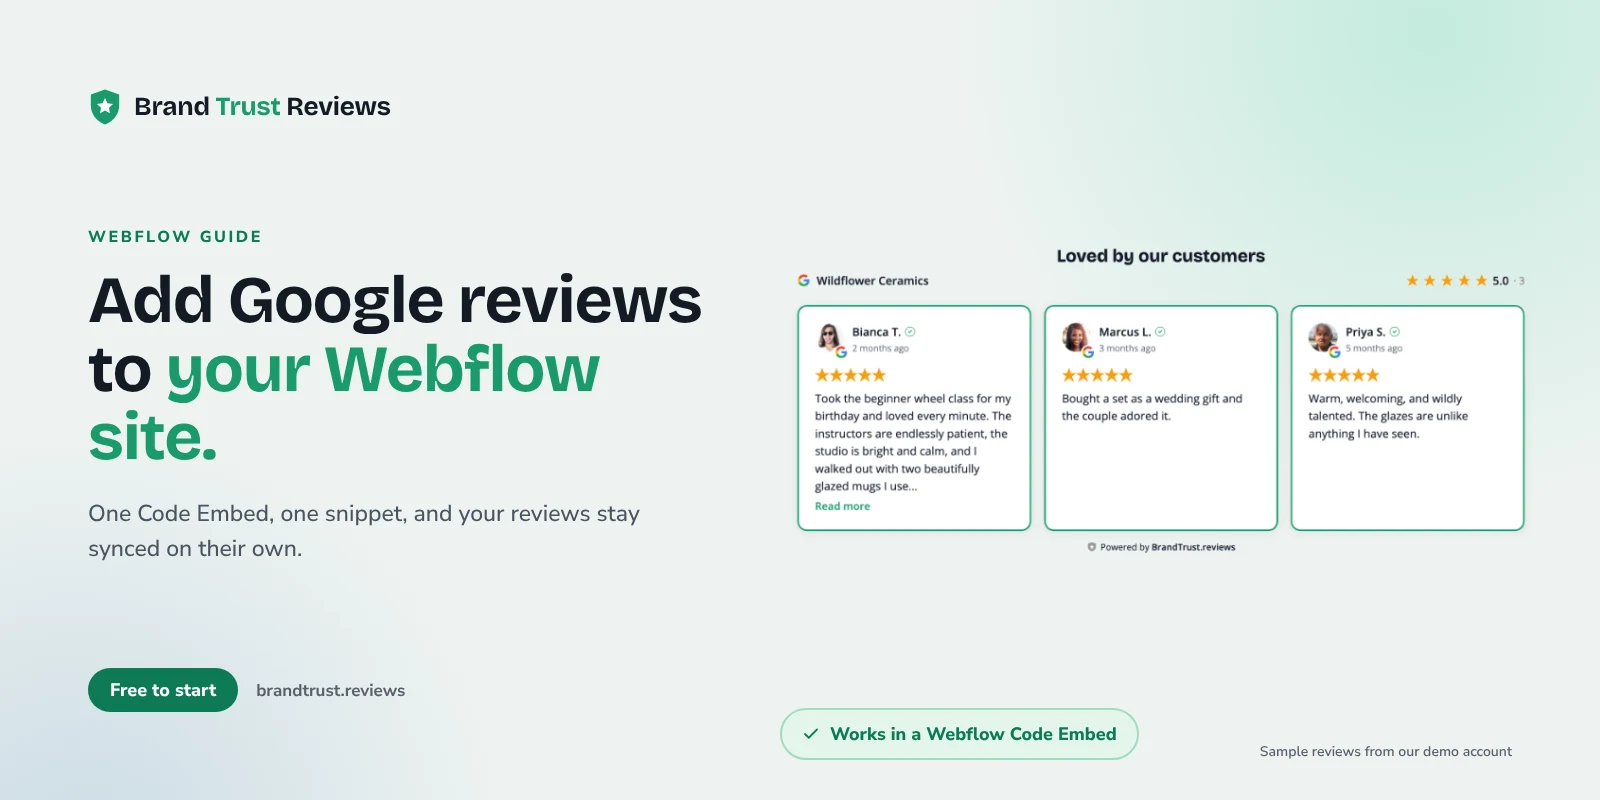
If you want to add Google reviews to Webflow, the simplest route is Webflow's own Code Embed element. You build the review widget once, paste one snippet into a Code Embed on the page, publish, and new reviews keep appearing without anyone copying them over by hand.
This guide is for Webflow site owners and the designers who build their sites. It covers the plan detail to check first, where the snippet goes, why the widget shows up as a placeholder in the Designer, and how to check the layout on phones.
Before you start
Have these ready:
- Your Google Business Profile. This is the listing your Google reviews belong to. If the business has several locations, know which listing goes with which page.
- A plan that allows custom code. Webflow's Code Embed article says you can use the element if you have a Core, Growth, Agency or Freelancer Workspace, or if the site has an active Site plan. Its head and body custom code article lists the same plans for page-level and site-wide code. If neither applies, sort that out first.
- Designer access to the site. You will add an element to a page and publish.
- One page to start with. Your homepage or your most important service page is a good first spot.
You do not need a Marketplace app or coding experience. You will paste a snippet, not write one.
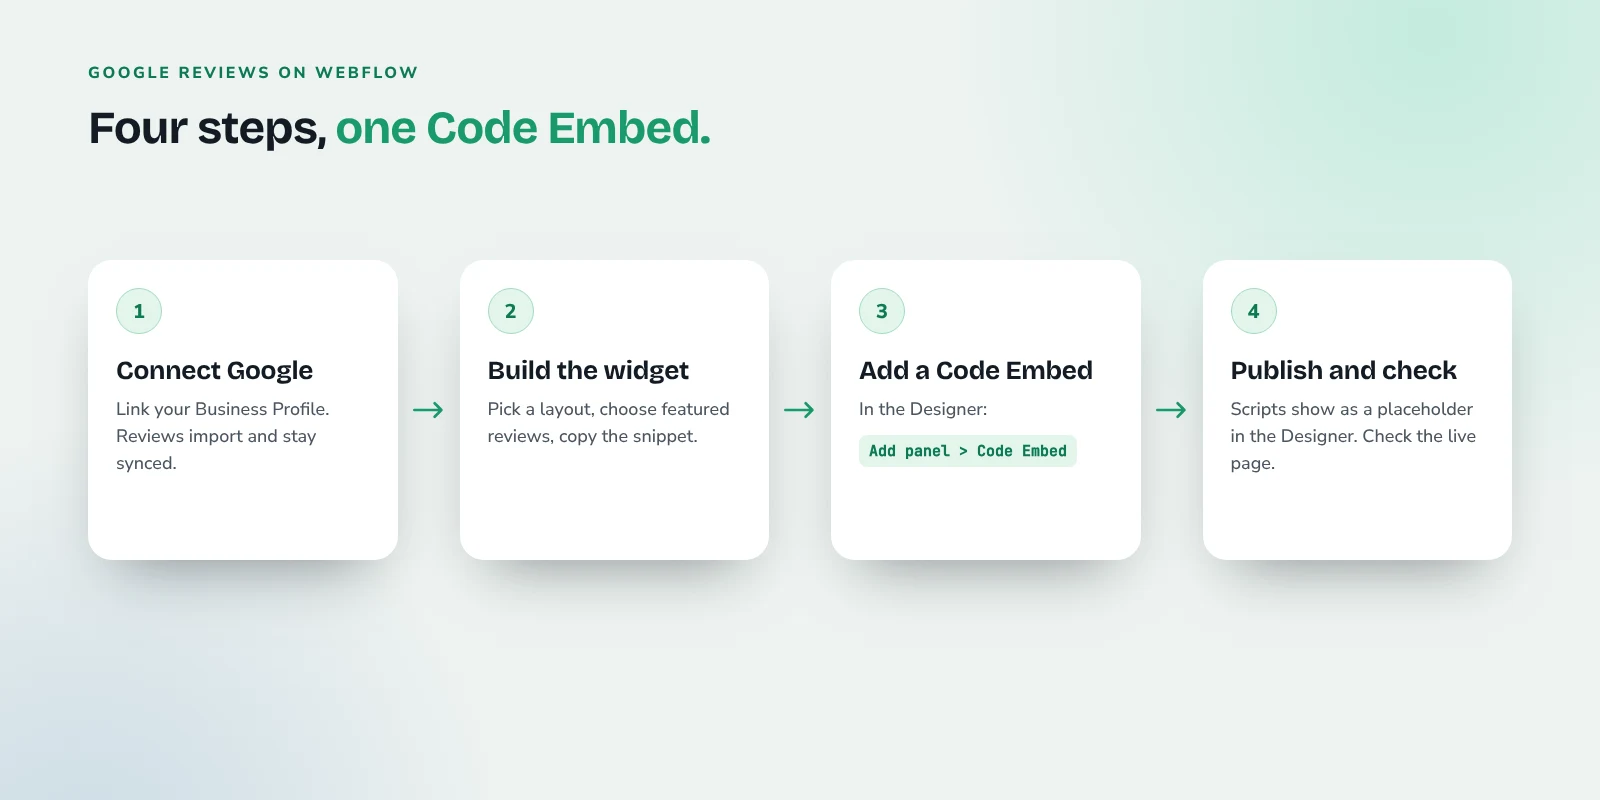
Step 1: Connect Google and build your widget
Create a free BrandTrust.reviews account and connect your Google review source. Your existing reviews are imported and then kept in sync automatically (daily on the free plan), so the widget stays current on its own.
Look over the imported reviews first and confirm they belong to the right business and location. Then pick a layout:
- Grid, list or masonry: review cards in columns, rows or a staggered arrangement.
- Carousel: a row of reviews visitors can swipe through, handy when vertical space is tight.
- Badge: a compact rating that opens the reviews when clicked. It fits a navbar area, hero or sidebar.
You can filter and order reviews and choose which ones to feature. The headline rating and total review count still reflect all of your reviews, not only the featured ones, so the summary stays honest.
Step 2: Copy the embed snippet
When the widget looks right, open the Install Widget window and copy the embed snippet. It is one short block of code: a div with a data-brandtrust attribute, followed by a script tag. The div marks where the reviews appear, and the script loads them into it.
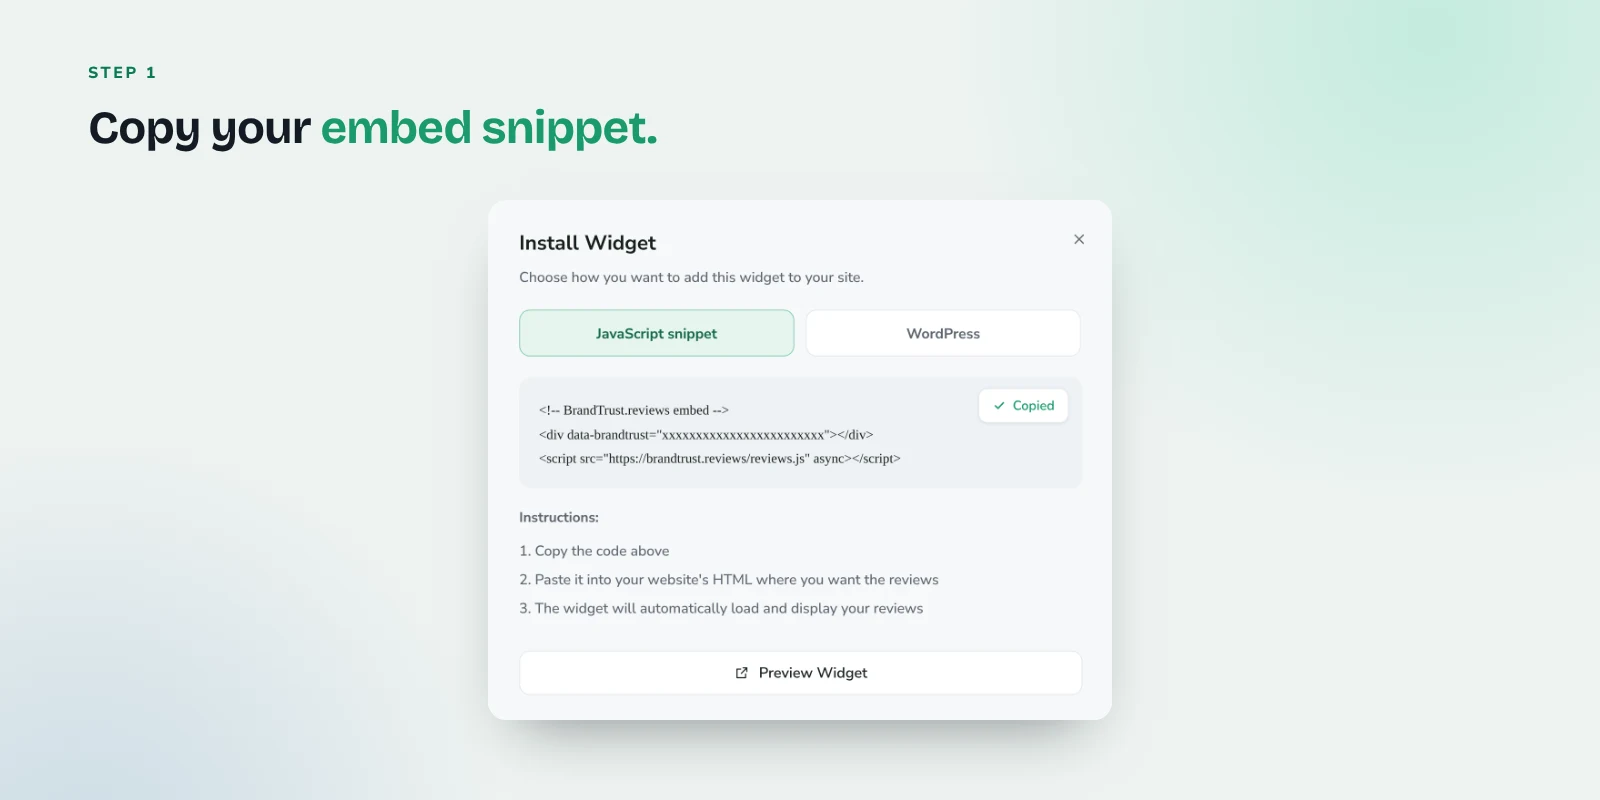
Copy the whole thing. A missing div or script is a common reason a widget shows nothing.
Step 3: Add a Code Embed and paste the snippet
Open the page in the Webflow Designer and decide where the reviews belong, such as a section below your hero. Then:
- Open the Add panel and add a Code Embed element to the canvas, inside the section or container where the reviews should sit.
- Paste your BrandTrust.reviews snippet into the code editor that opens.
- Save and close the editor.
Webflow's Code Embed article says code in a Code Embed can't exceed 50,000 characters, which a review snippet comes nowhere near. It also says to include your code's own opening and closing tags but not <html>, <body> or <head> tags. The snippet you copied already follows that rule, so paste it as is.
Optional: put the script in page or site custom code
Some Webflow builders prefer to keep scripts out of the canvas. You can split the snippet:
- Put the
divline in a Code Embed where the reviews should appear. - Put the
scriptline in Page settings > Custom code, in the Before</body>tag section. Webflow's custom code article describes that field and the site-wide equivalent under Site settings > Custom code, where the Footer code section runs on every page.
For a single reviews section, keeping the whole snippet in one Code Embed is easier to find and remove later.
Step 4: Publish and check the live page
This is the Webflow detail that confuses people. Webflow's Code Embed article says that any time you use a <script> tag, you will see a placeholder for that element in the Designer. So an empty-looking box on the canvas is expected. The reviews render once you preview, publish or export the site, and the article notes custom code effects don't go live until the site is published.
Preview mode has its own setting. Webflow's Preview mode article says sites are shown without custom code in preview by default, and you turn on the Enable custom code toggle in the bottom left corner to run it.
To check your work:
- Publish the site, then open the published page in a private or incognito browser window.
- Make sure the reviews load and the layout fits the section width.
Check the mobile layout
Webflow sites are styled per breakpoint. Webflow's Breakpoints overview lists Tablet (991px and below), Mobile landscape (767px and below) and Mobile portrait (479px and below), all inheriting from the desktop base.
Switch to each breakpoint in the Designer and check the container holding your Code Embed. Then, since the widget itself only renders on the published site, look at the live page on a real phone and check that:
- The section isn't squeezed into a narrow column or cut off by fixed widths or overflow settings.
- Review text is readable without zooming.
- A badge opens and closes the reviews easily with a tap.
If a grid feels cramped on small screens, try a list, carousel or badge.
Where to put Google reviews on a Webflow site
Reviews do more when they sit next to the decision a visitor is making.
- Homepage: a short grid or carousel of general reviews introduces the business.
- Service pages: reviews that mention that service answer the question a visitor has on that page.
- Location pages: show reviews for the matching location so people know which team is being described.
- Navbar area or sidebar: a badge keeps your rating visible without taking much room.
A note on CMS Collection pages: a Collection page is a template, so a Code Embed placed on it shows the same widget on every item in that Collection. That works well for a general reviews section on every blog post or service item. If you want different reviews on different items, the simplest approach is a separate widget for each static page that needs one.
On paid plans, Smart Tags can handle the sorting. You give a tag a few keywords, and reviews that mention them are tagged automatically as they sync, so a widget on a specific service page can show reviews about that service. Our guide to showing the right reviews on the right pages covers this, and the broader guide on how to add Google reviews to your website goes deeper on placement.
Adding other review sources
BrandTrust.reviews also connects to Facebook recommendations, Etsy, eBay, WooCommerce and Judge.me for Shopify stores, with TripAdvisor in limited access, plus manual entry. On paid plans, one widget can combine sources, with each review labeled by where it came from. If you do, use a heading like "What customers say" rather than "Google reviews." See current plans for what each plan includes.
Common problems and fixes
The Code Embed shows only a placeholder in the Designer. That is the script placeholder Webflow describes. Publish and check the live page.
Nothing shows in preview mode. Turn on the Enable custom code toggle in preview, or check the published page instead.
Nothing shows on the published page. Confirm you pasted the complete snippet, then publish again. Also confirm the site has a plan that allows custom code.
The widget is cut off on mobile. Look for a fixed width, fixed height or hidden overflow on the parent element at the Tablet or Mobile breakpoints.
A new review is not showing yet. Connected sources sync automatically, but not instantly. Give it some time, then check your widget's filters, since a minimum rating or tag filter may be hiding it.
Frequently asked questions
Do I need a paid Webflow plan to add Google reviews?
Yes, in most cases. Webflow's help center says the Code Embed element and page or site custom code are available if you have a Core, Growth, Agency or Freelancer Workspace, or if the site has an active Site plan. A review widget runs on JavaScript, so it needs one of those. If you are unsure what your site has, check the plan in your Webflow dashboard before you start.
Why don't my reviews show in the Webflow Designer?
Webflow shows a placeholder in the Designer whenever a Code Embed contains a script tag, so the widget will not render on the canvas. It appears once you publish. In preview mode, custom code is off by default, and you need to turn on the Enable custom code toggle to see it. The most reliable check is the published page in a private browser window.
Will Google review stars show up next to my Webflow site in search?
Don't expect them. Google's review snippet guidelines say a business's pages are ineligible for star review features when the business controls the reviews about itself, and that includes reviews shown through an embedded third-party widget. Our article on review schema explains what the markup does and does not do.
Is there a free way to add Google reviews to Webflow?
On the review side, yes. BrandTrust.reviews has a free plan with no credit card and no trial timer, and the embed snippet works on it. On the Webflow side, the site needs a plan that allows custom code. Paid BrandTrust plans add more widgets, higher view allowances, combined sources and Smart Tags. See current plans for details.
Does the same process work on Wix or Squarespace?
The idea is the same, one snippet pasted into an embed element, but the editor steps differ. Our guides on adding Google reviews to a Wix website and adding Google reviews to a Squarespace website walk through each platform's element, plan details and logged-in quirks.
Try it with your own reviews
Start with one page, publish, and check it on desktop and on a real phone before adding widgets elsewhere. You can try the BrandTrust.reviews free plan with no credit card and no trial timer, see the Google reviews widget for what it shows, or visit the Webflow setup page for a quick overview.